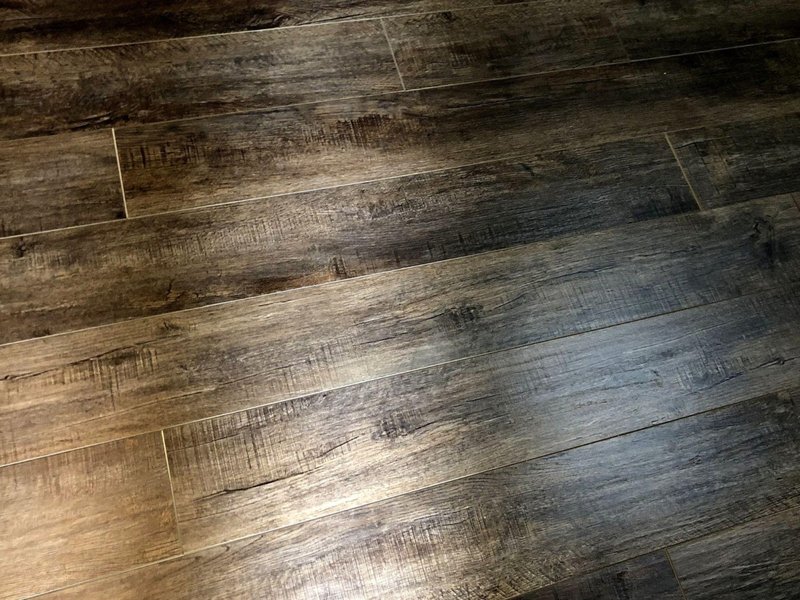
The flooring in a home is a great place to express personality and character. Whereas hardwood flooring is an often desired style by many homeowners, it comes at a high cost that isn’t always obtainable. In its place, luxury vinyl flooring is a fantastic alternative that visually resembles hardwood and is indistinguishable from the untrained eye. It’s a stylish flooring option that looks wonderful in a wide variety of homes.
If your home currently has ceramic tile installed, you may be curious if you can install luxury vinyl planks over top of it. In this article, we’ll address this question and give a step-by-step breakdown of how this flooring type can be successfully installed.
Why Choose Luxury Vinyl Flooring Over Ceramic Tile?
While ceramic tile is a beautiful option on its own, you may be tired of its aesthetic or the feel of it under your feet. Luxury vinyl planks can be the perfect alternative. This flooring comes with a long list of benefits that set it apart from traditional tile floors, including:
- Ease of Maintenance: Tile flooring can become quite dirty unless cleaning is frequently done. The deep grout lines can harbor all sorts of grime and bacteria. Luxury vinyl flooring doesn’t have these crevices, and maintenance normally only involves some light sweeping or vacuuming in places with heavy foot traffic.
- Affordability: Tile flooring can be much more expensive than vinyl flooring, especially for more premium products. Luxury vinyl is a great option for homeowners looking to modernize their homes on a budget.
- Durability: Luxury vinyl planks come with exceptional durability and impact resistance. Tile, on the other hand, is susceptible to cracking if a heavy object is dropped on it.
Source: The Spruce
Can You Cover a Tile Floor With Luxury Vinyl Planks?
You’ll be pleased to learn that in nearly every case, yes - luxury vinyl planks can indeed be installed on top of tile. This is quite convenient as it means you won’t need to completely strip the floor of your old tile when completing a new installation.
Easy installation is one of the primary benefits of luxury vinyl flooring. In many cases, homeowners choose to take on the installation themselves, although it’s always recommended to hire a professional flooring installer if you doubt your abilities in the slightest.
However, installation isn’t as simple as just throwing down the new planks and immediately enjoying your new floor. There’s a variety of special considerations you’ll have to make, and there are detailed steps you need to follow in order to guarantee a quality flooring installation that’ll last as intended.
Considerations when Installing Luxury Vinyl Flooring on Top of a Tile Floor
Installing luxury vinyl flooring over tile isn’t as straightforward of a process as you may think. Although a certified flooring installer will be your best option to ensure a quality job, if you’re taking on the installation yourself there are some special steps you need to take to ensure proper, long-lasting work.
Skipping these considerations can lead to some awkward inconveniences with your flooring at best, and a completely useless installation at worst. With that, what are some important things to keep in mind?

Be Sure to Measure
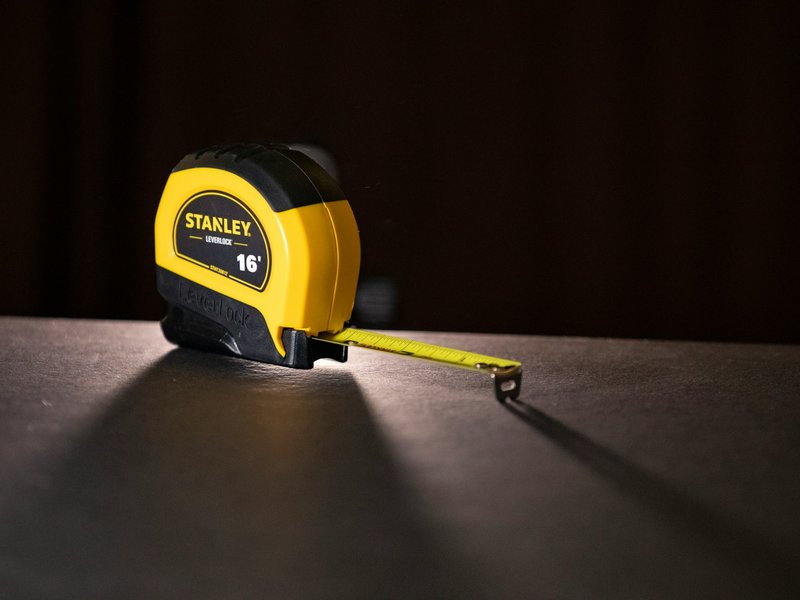
This may be one of the most overlooked parts when installing any type of flooring, and failure to do so can create some frustrating problems. When installing luxury vinyl over top of existing flooring, you need to consider, not only the length and width of your room, but you also need to consider the height of the existing floor and the new floor being installed. Your home likely isn’t built to handle two layers of flooring, and certain parts, such as doorways, transitions to other floors, and up against cabinets, may lead to issues.
Before going all in and completing an installation, ensure that your doors and cabinets will still be able to open with vinyl plank flooring installed on top of the tile, and that any transition height is not severe Take a piece of the laminate floor and place it over the tile floor in those areas to test it out.
Nothing would be worse than getting all done with the work only to learn that your doors scrape up the vinyl flooring when they swing open.
Prepare the Surface
Surface preparation is key to a successful installation. This is especially the case with tile flooring. The deep grout lines between the tiles may be troublesome when installing luxury vinyl flooring, primarily thin vinyl floors, where the grout lines may be “telegraph” and be seen through the vinyl floor, or with glue-down styles that need a solid surface to adhere to.
If installing these types of flooring, you’ll need to fill in these gaps with a self-leveling compound. Self-leveling compound is readily available at most improvement stores. It can be spread with a putty knife to smooth out the surface of the tile and create a flat surface.
It’s also important to thoroughly clean the tile before use. Any dirt or debris that is stuck to the floor will cause problems and interfere with the installation and adhesive of the luxury vinyl planks.
Select an Underlayment
For glue-down installations, it’s best to check with your installer or retailer to determine if an underlayment is necessary and the best way to install it. When installing a thin vinyl floor, and you don’t want to use a self-leveling compound, you can use an underlayment instead. Unlike a self-leveling compound, you don’t need to create a mess by spreading it around. This flooring material is placed on top of the tile and provides a flat surface for your vinyl planks.
Be sure to buy a product that’s thin, so that extra height is avoided. It can also help soften the feel of the flooring, as tile is quite hard underneath the vinyl, and it’ll help seal off any cold temperatures emitted from the tile.
Source: fcnews.net

Choosing Your Style of Luxury Vinyl Planks
You’ll also need to pick your variation of luxury vinyl flooring. They come in two main varieties with each having a different installation process:
Glue-Down: Glue-down luxury vinyl is the more affordable option of the two. It can either be installed via a brushed-on adhesive that’s spread across the tile, called hard set, or via a “peel and stick” plank. Peel and stick involve a backing that is peeled off, and the vinyl plank is attached to the tile or subfloor and pressed down.
Click-Lock: More durable but also more expensive, click-lock functions via interlocking vinyl planks that fit together like a puzzle. With this type of installation, no adhesive is needed. The planks are not actually attached to the tile at all, they simply exist as a “floating floor” above it.
Steps to Install Glue-Down Luxury Vinyl Flooring
Out of the two luxury vinyl flooring styles, glue-down requires more labor and tools. The steps for a proper installation are as follows:
- Measure the size of the room and purchase the appropriate amount of flooring. Purchase 10-20% more than you think you need.
- Completely clean the tile making sure it’s free from any dirt and debris.
- Remove the baseboards along the walls.
- Apply self-leveling compound to the gaps of the tiles to even out the floor. Optionally, purchase underlayment and place it across the entire room (this may require a double glue down installation method, where the underlayment is first glued down and then the new floor is glued to the underlayment).
- If using glue-down panels that don’t have a sticky backing, apply the adhesive to the tile or underlayment. If you’re able to complete the entire installation at once, feel free to apply adhesive to the entire floor. Planks must be installed within two hours of the application of the adhesive.
- With both peel and stick and hard-set glue-down planks, start in the middle of the room and create your first line of flooring across the room. When you get to the walls, trim the pieces as needed. Be sure to press down on each plank to ensure it adheres properly.
- Work outwards, staggering the pieces against the existing flooring as you go. When you get to the perimeter of the walls, trim as needed.
- Reinstall baseboards and you’re done. Allow the planks to fully set for 48-72 hours before moving furniture back in and avoid heavy foot traffic to the area.
Source: whatisvinyl.com
Steps to Install Click-Lock Luxury Vinyl Flooring Over Tile
Click-lock planks are much more straightforward to install, and much of the process is the same, besides the adhesive. The steps for a successful installation include:
- Once again, measure the size of the room and purchase 10-20% more flooring than you need.
- Thoroughly clean the tile surface, removing all dirt and dust.
- If the grout lines are particularly deep, use self-leveling compound, or an underlayment, as described above. If they’re pretty shallow, click-lock can be installed without leveling the tile.
- If you want the added benefits of warmth and a softer feel underfoot, and underlayment can be placed over the tile.
- Remove baseboards
- Similar to glue-down, start in the middle of the room following the same directions as described above.
- Line up each successive piece of flooring and use a proper tapping block, to gently tap one board to fit it against the other piece. A tapping block will eliminate the risk of damaging the click lock joint.
- Continue outwards, trimming along the walls as needed.
- Reinstall the baseboards. With click-lock flooring, you can begin using it immediately as there is no adhesive to set.
Source: whatisvinyl.com
Start Your Luxury Vinyl Installation Today
If you’re looking for a flooring style that can be seamlessly installed on top of existing flooring like tile, luxury vinyl is a great option. This forgiving flooring solution is easy to install with just a little bit of preparation as we discussed above. While many DIYers choose to handle this work on their own, it’s always suggested to hire a reputable flooring installer to ensure you receive the highest quality work.
Allman's Carpet & Flooring is your expert luxury vinyl installer and distributor. We have countless styles that’ll flawlessly pair with the current design aesthetic of your home. Browse our collection today.

